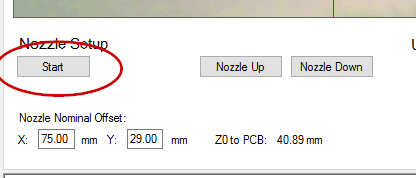
The cameras are set up now, and both of them work. The machine needs to know the up camera location and the distance of the down looking camera and the nozzle tip. For this, first attach a nozzle to the adapter. Then, select the Down Looking Camera tab (at Setup Cameras). Press Start under Nozzle Setup, just below the image box.
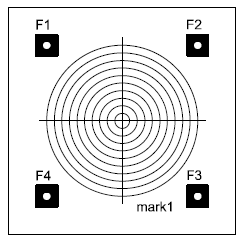
The button label changes to “Next”, and the instructions ask you to jog the nozzle down to a point on a PCB. Try to be precise with this! The task will be easier if you have a good target. For this, I prepared a calibration help figure:
Using the circles it is possible to get below 0.1mm accuracy by eye. Do not jog the machine in X or Y direction while the nozzle is touching the PCB! Instead, note the adjustment you need to do, take needle up a bit, move the machine and take the needle down until it goes exactly where you want it.
Alternatively, you can use carbon paper, masking tape or soft pencil blackened paper to leave a mark where the nozzle pressed down.
Press Next. Needle comes up and the machine moves so, that the point is in the image. Jog the machine so, that the point is exactly in the center, and press Next.
The image changes to the up looking camera. Jog the nozzle above the up looking camera, and press Nozzle Down. Jog the nozzle exactly to the center of the of the image. Zoom function will be helpful here. Do not rotate the nozzle while doing this!
When the nozzle is at the center, press “Set” under Up Camera:
The machine now knows the location of the up looking camera and the nominal distance between the nozzle tip and down looking camera. This distance might change slightly in real life when the nozzle rotates as well as from one nozzle to another, We’ll measure and store these differences later, so the machine will know exactly where the nozzle tip is, regardless of the nozzle or if the nozzle wobbles slightly when rotated.
Before moving the machine from here, press Nozzle Up.


