Here is a simple example or the function of No video processing/Show processing/Show results selection as well as an introduction to using the video processing table.
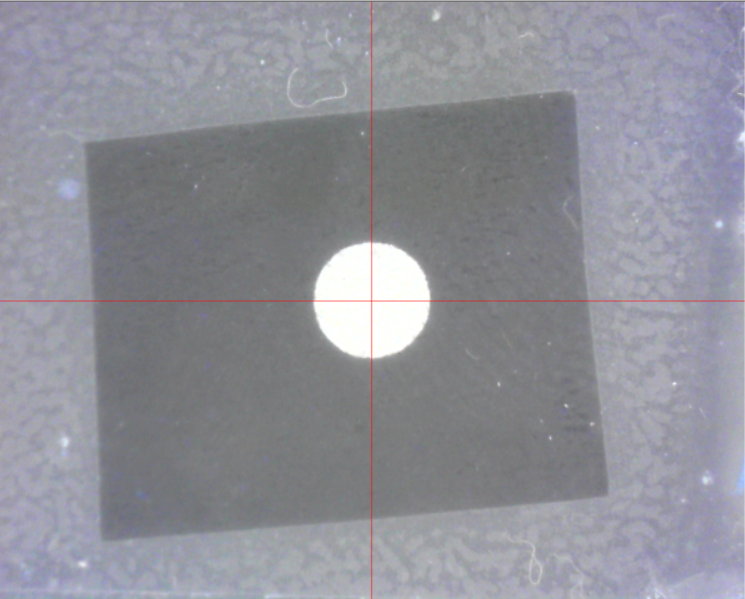
Here is an image of my not-so-good homing mark:

The processing looks for white feature on full black background. The three-way selection affects the screen image. This is using “No video processing”. To see the same as the recognition algorithm sees, we need to select “Show processing”. My mark is black, so I first need to invert the image. I click “Add” under “Functions:” and select “Invert” on the drop down box. Newly created functions are not active by default, so I also need to enable the function. Here is the inverted result:
To make it truly black and white, “Threshold” function is used. This function has one parameter; pixels with brightness value over the parameter value are converted to white, others will be black. When you select a function in the table, the parameters for that function become visible; so I need to select and enable the threshold function to see the result and to set the parameter right. It is a good practice to find out the high and low limits for a parameter which give the desired result, and set the value to middle of the range. This gives the most robust results.
I also select “Round” in the “Features to Search:” category. Result is this; note the green highlighted processing results.
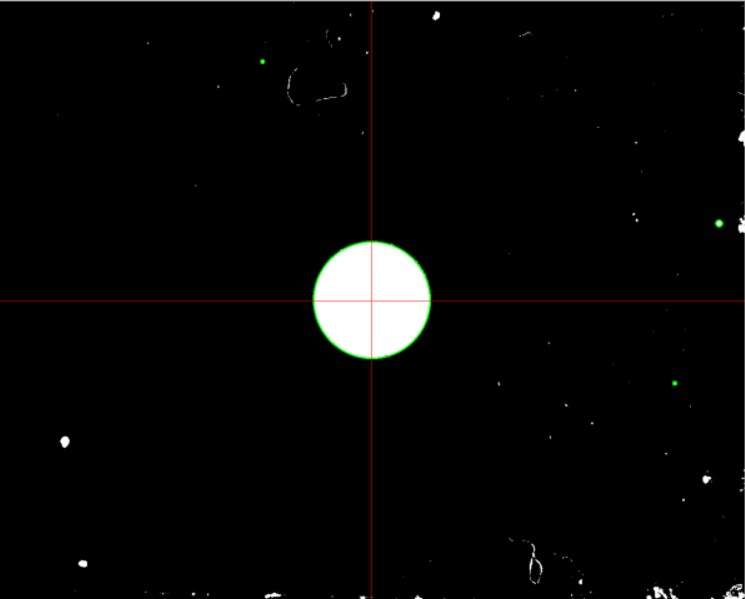
The main circle in the center of the image is what we really want. In addition, there are some false results from the dust on my table. To ensure getting the desired result, there is a size and distance filtering on the bottom section. The size of the target needs to fall between the stated values to be accepted. In addition, results more than “Discard distance” away from the initial guess are not accepted.
The processing shows the effect of size and distance filtering in colors: Red results (for example, circles) are wrong size and discarded. Yellow results are right size, but more than “Discard distance” away from the image center. Green result(s) pass all tests. You should have only one green item.
Here is a screenshot of my homing mark video processing setup with all the parameters:

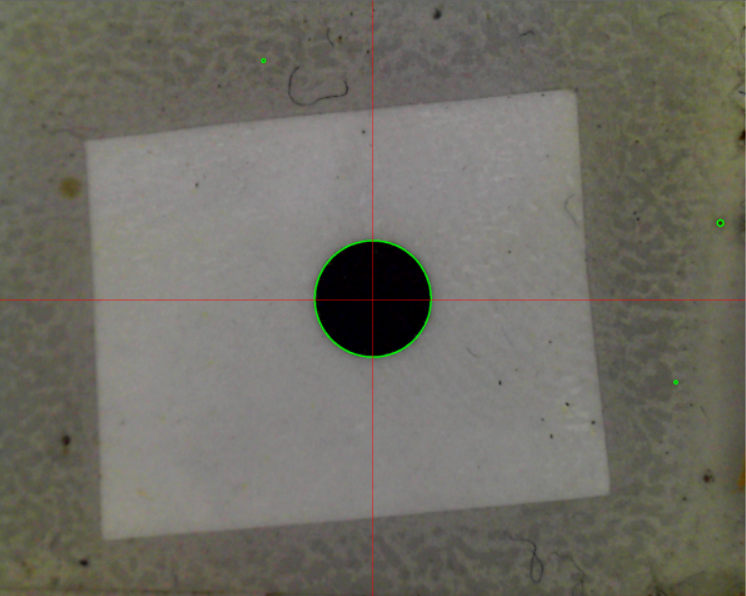
In this simple example it is trivial to make out what we are seeing. However, with some more complicated tasks, especially when zoom is used, this is not so. Therefore, there is a “Show results” display choice, which overlays the results over an unprocessed video image. With the homing mark, I get this:
Back to Setup Video Processing page