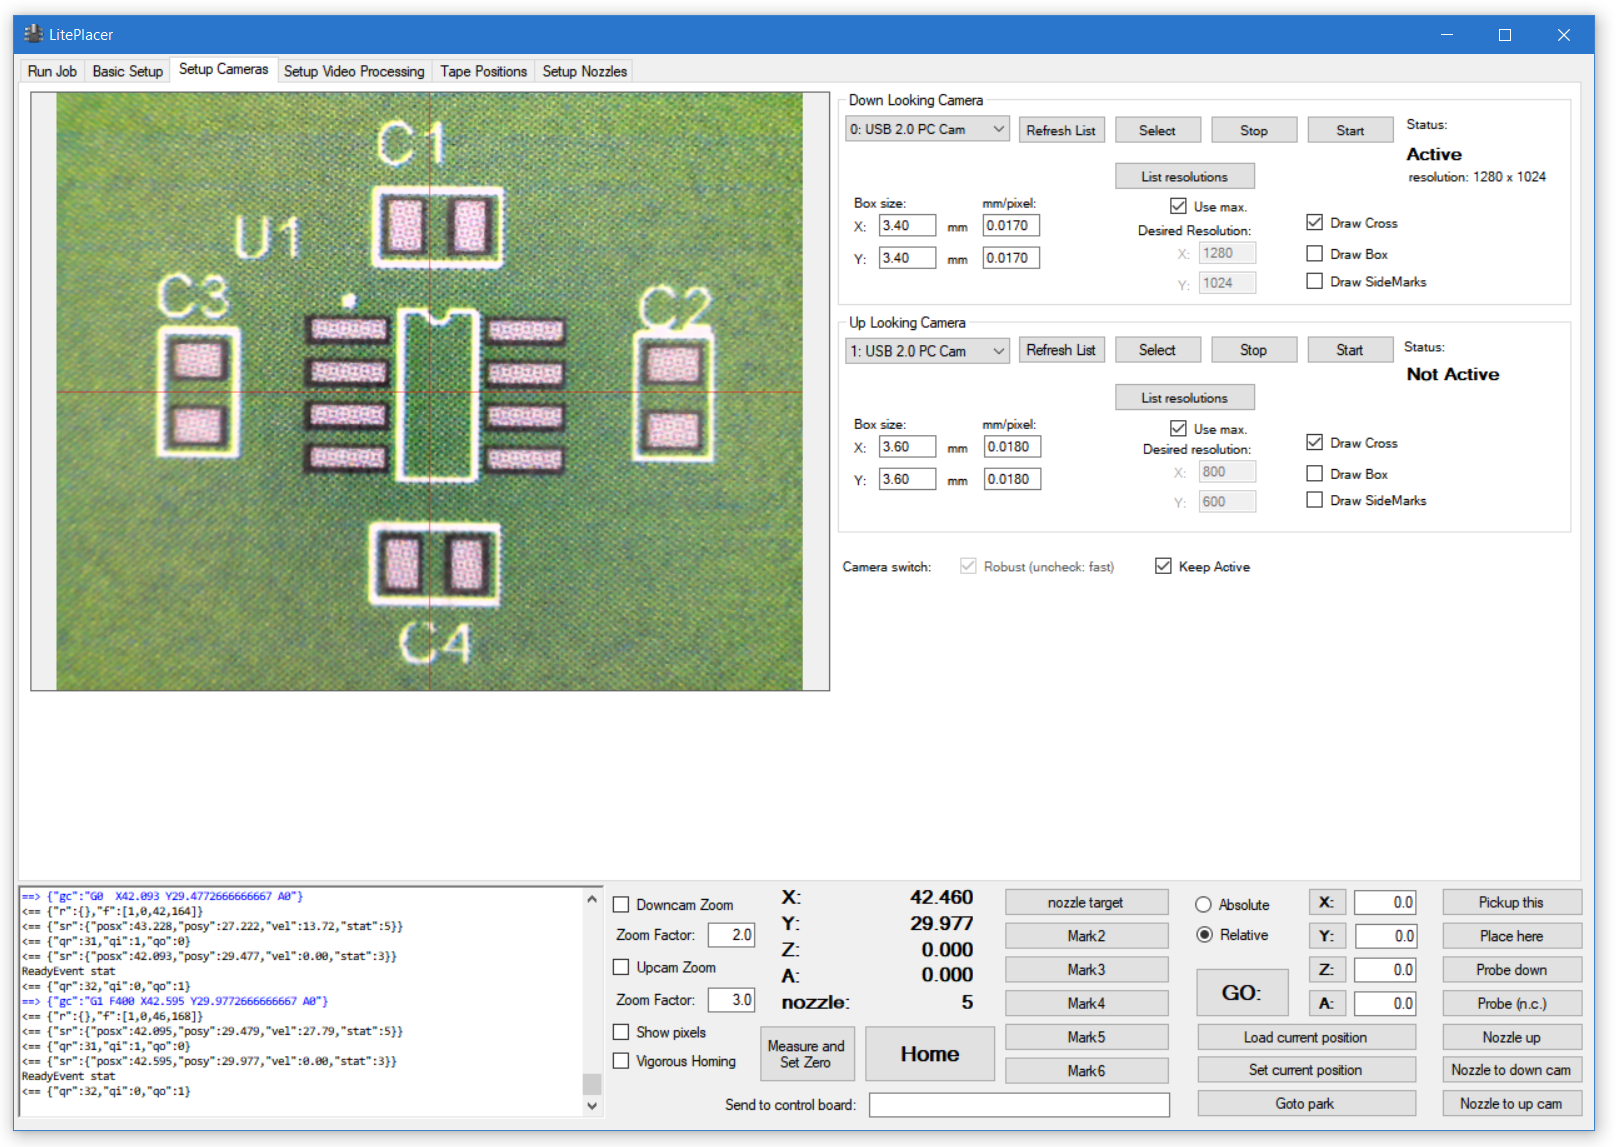
Select the Setup Cameras page. It looks like this, although you don’t have video yet:
First, please note that on this page, there is no automatic operations, you have to click the buttons. Otherwise, solving issues would be hard. You should not need to install any driver software for the cameras.
Let’s look at the Down Looking Camera section on the top right first. The dropdown box lists the cameras on your system. If not, press the “Refresh List” button. If no cameras appear, check your connections. The “Select” button selects this camera feed for the image box. “Stop” and “Start” buttons stops and starts the camera.
Clicking “List resolutions” show the camera available resolutions and manufatures aed frame rates for this camera.
Note about performance on 4k cameras
Two 4k video feeds is demanding for both USB and the PC. This became apparent in the software when 4k cameras became available. I will put effort to improve the video handling speed in the software. So, keep an eye on the forum for new software release announcements or check the “Check updates at start” button on the basic setup page.
To begin, select a resolution below maximum (such as 1600 x 1200) for 4k cameras to avoid performance related issues in setup. You can always come back here and increase the used resolution.
Getting image
Select “none” for the Up looking camera, uncheck the “Keep active” button and check the “Robust” button. Select one of USB cameras for Down looking camera drop down box, and click “List resolutions”. You should see a list of HD resolutions in the log window. Click “Select” and click “Start”. Repeat until you get the image of the down looking camera to appear. Then select another camera in the Up looking camera section and repeat the procedure to get the image from that camera to appear.
Switching between the cameras
There are three methods for selecting between the cameras. These are “Keep active”, “Fast” and “Robust”, in the preferred order.
Keep Active: Tries to start two camera streams and keep both active. Switching the active video stream is handled inside LitePlacer software. This consumes more USB bandwidth and PC resources but is the fastest method, if your system supports it.
Fast: Asks the OS to stop the camera video feed, but keeps them on the USB bus. Activate this method by unselecting “Robust” checkbox.
Robust: Asks the OS to disconnect the inactive camera from the bus and reconnect the active one.
Please note, that Windows doesn’t always honor these requests, and LitePlacer software doesn’t go deep into the USB management system. (Therefore, “asks”, not “forces”.)
Clicking only the Select buttons, choose the method that gives you reliable switching between the two cameras.
You can read the full description of this page in the software reference section here.
Troubleshooting tips:
Some machines have had issues on selecting between the cameras. Things that have helped:
- Connecting cameras directly to a computer (not through a hub)
- Connecting cameras to different USB ports, so that they are using different USB controller chip inside the machine
- A tip from a customer: “Solved it; went into device manager, selected one of the cameras and clicked “Update driver” then selected to browse manually for a driver and continued to select from a list of devices, selected “Imaging devices” -> Microsoft -> USB Video camera.”
- The OpenPnP folks have encountered similar issues with USB and cameras than some LitePlacer users. Jason von Nieda, the guy behind OpenPnP, has written a good page about the issue: https://github.com/openpnp/openpnp/wiki/USB-Camera-Troubleshooting-FAQ.
- Also, this thread has good hints and a link to a tool that might help in diagnostics:
https://groups.google.com/forum/#!topic/openpnp/17d9WNn3DhY.
Previous (Nozzle Height Setup)
Current kits: Next (Downlooking Camera Setup)
Kits delivered before June 2021: Next (Downlooking Camera Setup)